Making your own baby food: A simple how-to guide + free printable
Ever since I posted a time lapse of me making baby food, I have been getting a couple questions about my process.
Choosing to make my own baby food has been one of the easier decisions in motherhood. It’s cost-efficient, doesn’t include preservatives, and makes me feel like I am doing something important for my daughter.
That being said, it’s not for everyone. Not all parents have the time or the desire to do it. And that’s okay! I just thought I would share some of the things I’ve learned in the short few months I’ve made food for Harlow for those who are interested in trying it out.
Now, I am not trying to reinvent the wheel. I am a huge fan of Michele Oliver’s site, BabyFoode.com. She has tons of information there about starting out, which tools you need, recipes, food profiles (one of my favourite parts of the site – just search for a food and it gives you a breakdown of nutritional content and recipes that include that specific food), and more. For those just starting out with baby food, it’s an excellent place to start and it’s one of my favourite sites for recipes.
This post will focus on my own process and the things I use to make it an enjoyable and easy process.
TOOLS OF THE TRADE
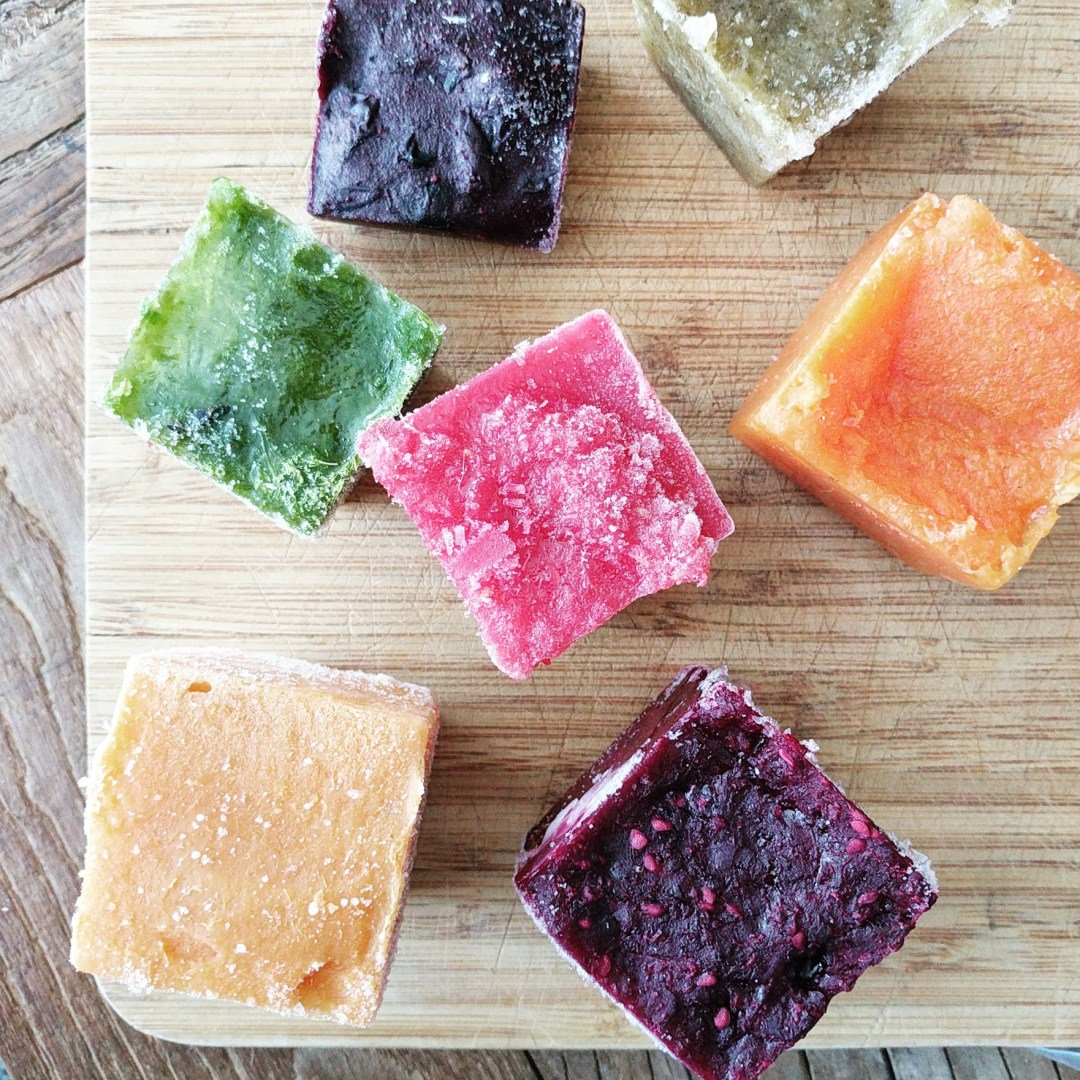
To my knowledge, there are two ways to store homemade baby food: in containers/baggies after being frozen in ice cube trays, or in squeeze pouches.
When you’re just starting out, chances are that you will be feeding baby just breakfast and dinner, adding in lunch at a later date when they’re ready for more food. For this time, I found that the ice cubes worked really well because it involved minimal clean-up and was easy to defrost and re-heat when I was at home. (I should mention here that we don’t own a microwave… long story but we’ve decided not to replace the one we had and so we reheat everything either on the stove or in a bowl of boiling water.)
The pouches really came in handy when I was ready to start introducing lunch, as they are easier to throw into a lunch bag and take with me on the go. They’re also simple to reheat, as you can just stick them in a bowl of boiling water for 3-4 minutes and you’re all set.
If you’re interested in the pouch set I used, they have a great starter kit for food called the Kiinde Foodii Starter Kit. I used these bags from the beginning for pumping but they change seamlessly into food pouches.
So along with your typical list of items you will need to make your own baby food (pots, steamer basket, blender or food processor, spatula, etc.), you will also need to decide on which storage method works best for you and your family situation.
PLANNING AHEAD
With the food profile section on Michele’s website, it’s really easy to just take a look in your fridge and type in your ingredients you have on hand, but I find that planning ahead ensures you will make the best use of your time when making baby food.
And let’s be honest, kiwi, mangoes, and other exotic fruit might not just be hanging out in your fridge all the time.
So to help you out with this, I made a baby food planning guide similar to the meal planning guide I shared on the blog earlier this year. It’s fairly self-explanatory; you decide on the recipes you want to make, take notes of what’s required with cooking, list the ingredients, decide on the cooking order, and off you go to the market!
BATCH COOK
When I make baby food, I want to get the most use of my time and bang for my buck. For this reason, I batch cook – meaning, I pick at least 3 recipes to make in one go (more if I am planning to do this after bedtime, but I find 3 is perfect for nap time). Sometimes I choose recipes with similar ingredients, but it really just depends on what she needs more of at the time.
Once I have my recipes chosen and my ingredients purchased, I prep all the food (wash, cut, etc.), place them into bowls coinciding with their recipe and get cooking. I try to time it so that I have one recipe ready for bagging, another ready for the blender and the third cooking on the stovetop (which is why I included a cook order on the baby food planner). It’s like singing in a round and having perfect timing so that the song flows properly.
So if you’re ready to get started making your own baby food, I recommend you jump right in! It’s actually so much fun and very rewarding to know you’re doing something special for your little one. Happy blending!


